

Are you craving a stylish, custom look for your walls without the high-end price tag? You’re in the right place! In this tutorial, I’ll walk you step-by-step through creating stunning wall art using affordable gallery frames from Walmart, gorgeous graphics from Creative Fabrica, and the magic of Canva.
This is perfect for anyone—whether you’re decorating a first apartment, refreshing a room, or staging a space. Let’s turn blank walls into something beautiful!
Affiliate Disclosure:
Some of the links on this site are affiliate links, which means I may earn a small commission if you make a purchase through them—at no additional cost to you. I only recommend products I genuinely love and believe will add value to your life. As an Amazon Associate and participant in other affiliate programs, I earn from qualifying purchases.
What You’ll Need:
- Gallery frames from Walmart ~ I recommend this set
- A free or paid Creative Fabrica account ~ Click here to learn more about CF awesomeness!
- A free Canva account ~Sign up for Canva here!
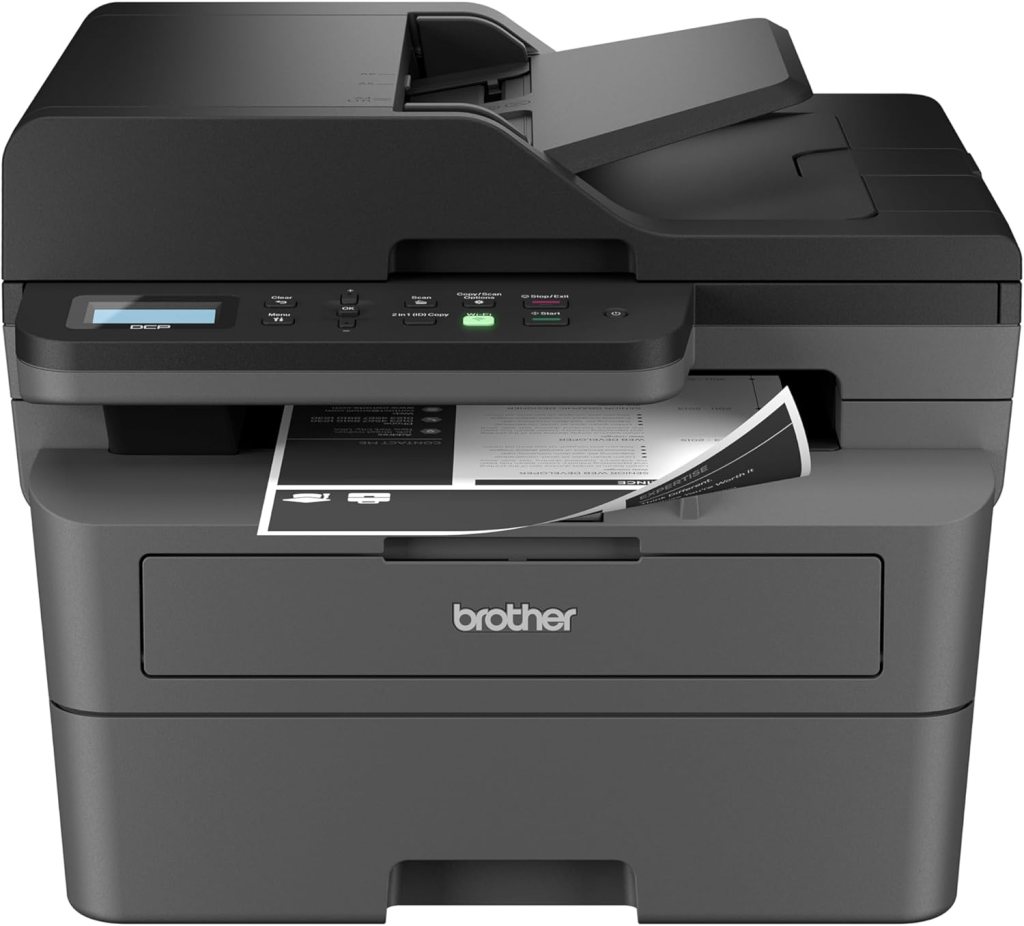
- Printer (optional) ~ or you can print at a local copy shop. This is my pick
- Scissors or paper trimmer
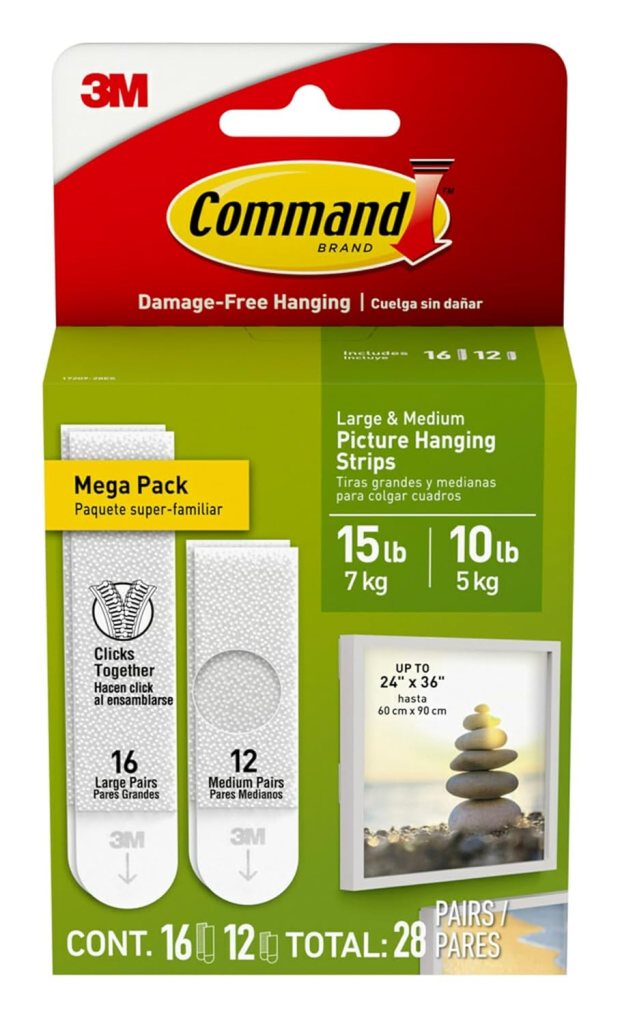
- Tape or glue dots (for mounting art inside the mat)


Step 1: Pick Your Frames
Head to your local Walmart or check online and look for their Mainstays or Better Homes & Gardens frames. The 8″x10″ or 11″x14″ sizes with mats give that elevated, gallery-style look without the cost.
TIP: Make sure the frame comes with a mat – it adds a polished, professional touch!
Step 2: Find Beautiful Art on Creative Fabrica
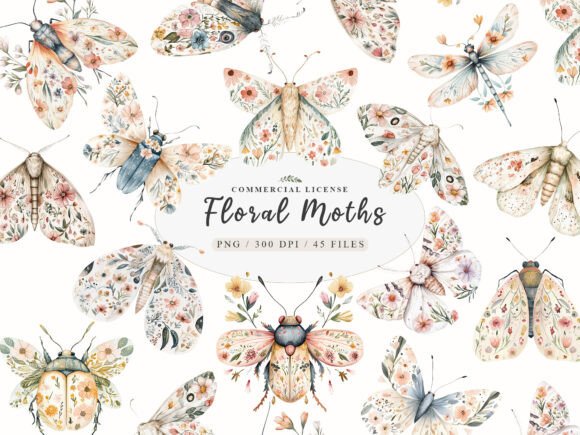
Go to Creative Fabrica and search for wall art bundles, printable quotes, or boho illustrations—whatever suits your style. You will be AMAZED at the endless selection of options! For this particular project, I searched for “botanical watercolor moth”
Here are some great search terms to try:
- “Minimalist wall art”
- “Boho printable”
- “Abstract art bundle”
- “Modern quote prints”
Download your favorites and make sure they’re labeled for personal use or commercial use (depending on your intent). Most downloads come as PNG, JPG, or SVG files—perfect for Canva!
TIP: Choose high-resolution images for the best print quality! For a PNG file, look for 300 DPI (dots per inch), which is a standard resolution for high-quality printing
Step 3: Create & Customize Your Art in Canva
- Go to Canva.com and log in.
- Click “Create a design” and choose 8.5″ x 11″ (US Letter) if you’re printing at home—or match the size of your frame opening.
- Upload the image(s) you downloaded from Creative Fabrica:
- Click “Uploads” > “Upload files”
- Drag and drop the image onto your blank canvas.
- Resize and position the image so it fits nicely within the printable area. Add a background color or overlay text if you want! (I added background detail to complement the moth designs.)
- When you’re happy with it, click “Share” > “Download” (choose PDF for print or high-quality PNG).
Optional Tip: Add your own quote or family name for a personalized touch!
Step 4: Print Your Art
- At home: Use bright white cardstock or high-quality photo paper for best results.
- At a print shop: Upload your PDF or PNG and print it on 8.5″ x 11″ or custom size based on your frame.
Trim the edges to fit your mat opening.
Step 5: Frame It Like a Pro
- Remove the frame back and mat.
- Center your artwork behind the mat opening.
- Secure it in place with double-sided tape or glue dots.
- Reassemble the frame and clean the glass with a microfiber cloth.
These gallery frames are lightweight and easy to hang. This is what I used:
Now stand back and admire your masterpiece!
Design Ideas to Try:
- Gallery wall: Create a series of three coordinating prints.
- Kitchen charm: Use vintage botanical or recipe prints.
- Calming space: Go for soft watercolors or line art in neutrals.
Final Thoughts
Who knew stunning wall art could be so simple and affordable? With just a few clicks and a couple of dollars, you’ve created something unique, stylish, and totally YOU.
If you try this project, I’d LOVE to see what you create! Tag me on Instagram or leave a comment below with your wall art pics.
Happy decorating!

Leave a comment